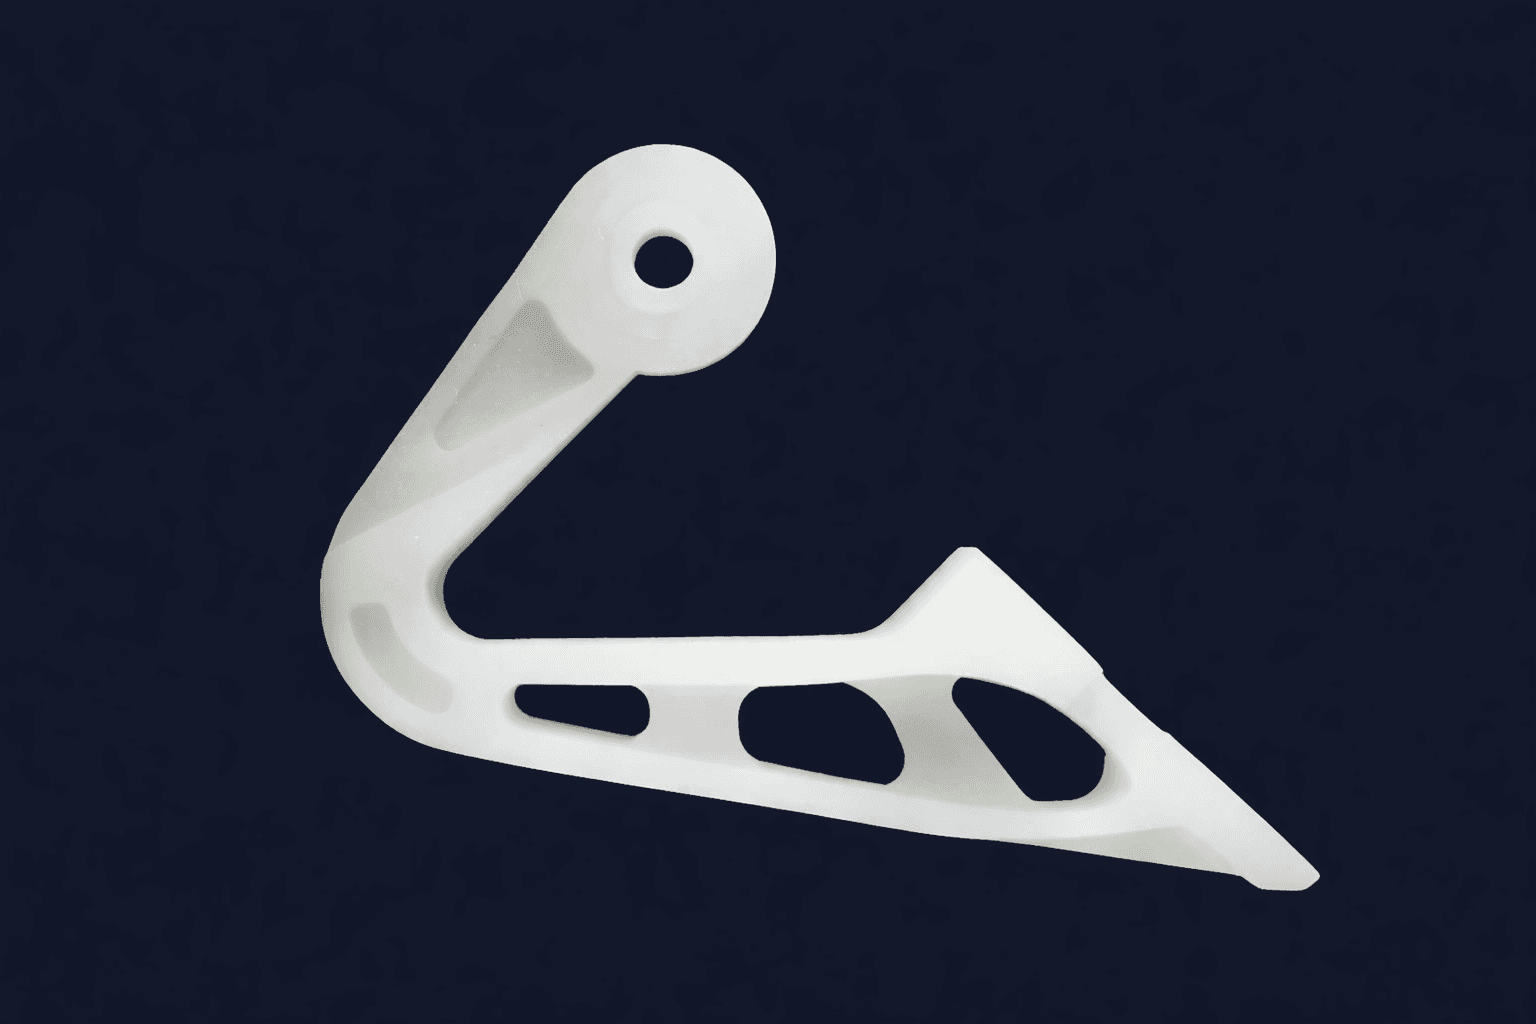
Threaded Inserts in 3D Printed Parts: What Actually Works in SLA Resin

Author
Fionn O'Connell

For any part that gets assembled and disassembled more than once, screwing directly into a printed hole is a bad long-term bet. Plastic threads — printed or self-tapped — strip. On a one-off prototype that might not matter. On a drone chassis that gets opened for battery swaps every flight, or an enclosure that a field technician will service repeatedly, it matters a lot. That's where threaded inserts come in, and it's one of the most common integration questions we get asked: can you put threaded inserts in 3D printed parts, and does it work the same way as it does with filament prints?
The short answer is yes — but how you do it is different for resin than it is for FDM, and getting that distinction wrong is a common source of cracked bosses and inserts that pull straight back out.
Why printed parts need inserts at all
A moulded or machined plastic part usually has enough wall thickness and material continuity around a fastener that a self-tapping screw holds up reasonably well. A 3D printed part — especially anything with fine features or a lightweighted internal structure — often doesn't. Threaded inserts solve three problems at once:
Repeated cycling. A brass insert with a proper metal-on-metal thread will survive dozens of assembly cycles; a screw tapped straight into resin or filament is good for a handful before the threads round out.
Vibration resistance. Drone frames, enclosures mounted to machinery, and anything that travels benefit from a mechanically locked insert rather than a friction-fit screw that can work loose.
Load distribution. A knurled or grooved insert spreads clamping load across a larger surface area than plastic threads alone can manage, which matters when the fastener is also carrying shear or vibration load.
The standard method — and why it's an FDM technique
If you've searched for this, most of what comes up describes heat-set inserts: a knurled brass insert, heated with a soldering iron tip to somewhere around 200–300°C, then pressed into a pilot hole slightly smaller than the insert's outer diameter. As the insert sinks in, the surrounding plastic melts and flows into the knurling, then re-solidifies around it as it cools. Done correctly, it's a strong, reusable, well-proven method — for thermoplastics like PETG, ABS, and nylon, where the material genuinely re-melts.
Why that doesn't translate to SLA resin
SLA and DLP photopolymer resins are thermosets, not thermoplastics. During printing and post-cure, the resin cross-links into a fixed molecular structure — it doesn't melt when reheated the way a thermoplastic does. Press a hot soldering iron into a cured resin boss and you don't get controlled reflow into the insert's knurling; you get localised scorching, off-gassing, and a real risk of stress-cracking the surrounding material, particularly in more brittle standard resins. Even when it appears to work, the bond is inconsistent because the mechanism that makes heat-set inserts strong in thermoplastic — actual material flow — isn't happening.
This is a genuinely common mistake we see in parts that come to us for review: a design carried over directly from an FDM workflow, with insert bosses sized for heat-staking, reprinted in resin without adjusting the approach.
What actually works for resin-printed parts
For SLA parts, the reliable method is an adhesively bonded insert rather than a heat-staked one:
The hole is sized to leave a controlled, consistent gap around the insert — typically a few tenths of a millimetre per side, rather than the tight interference fit used for a heat-set install.
A structural epoxy fills that gap and cures around the insert's knurling, transferring load through adhesive shear rather than melted plastic.
Because there's no heat and no interference-driven hoop stress, the risk of cracking the boss is far lower, even in stiffer or more brittle engineering resins.
Done properly, this gives you an insert that's just as reusable and vibration-resistant as a heat-set install in FDM, without fighting the material's actual chemistry.
For lower-cycle applications, a straightforward press-fit insert (sized for a light interference fit, no adhesive) can work, but it's more sensitive to hole tolerance and print orientation, and we'd generally only recommend it where the part won't be repeatedly assembled and disassembled.
Sizing the boss
A rough rule of thumb we design to: boss outer diameter should be at least 2–2.5× the insert's outer diameter, with a minimum of 1 mm of resin wall around the bonded insert wherever the geometry allows it. Undersized bosses are the single most common cause of cracking, whichever install method you use.
When to skip the insert entirely
For larger fasteners (M4 and up) in low-cycle applications, printing the thread directly into the CAD model is sometimes viable — SLA's resolution handles internal threads more cleanly than FDM does. It's not a substitute for a metal insert anywhere the part will see repeated assembly or real clamping load, but for a single-use jig or a fixture that's fastened once, it can save a step.
If you're specifying inserts for a resin part, it's worth checking with whoever is printing it that they're actually accounting for the difference — not just copying an FDM boss design and hoping. We quote every job with transparent, published pricing and no minimum order quantity, so it's just as straightforward to get one bonded-insert prototype made as it is a production batch. You can get an instant quote on the homepage whenever you're ready.